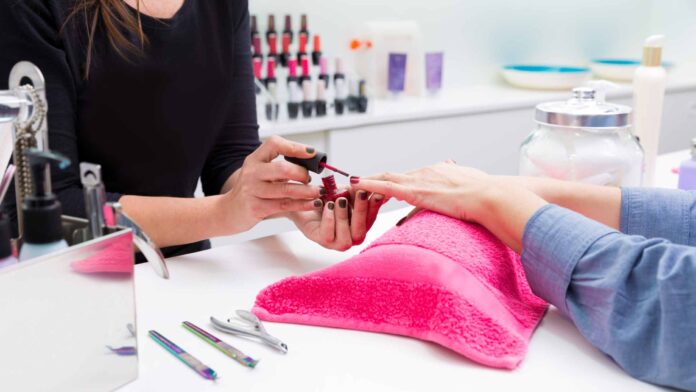
Do you love having beautifully designed nails, but find yourself hesitant to spend money at a salon every time you want a new look? Well, you’re in luck! In this blog post, we’ll explore the world of homemade nail art and discover what you can use to create stunning designs right at home.
With the rise of social media platforms like Instagram and TikTok, nail art has become more popular than ever. However, not everyone has the time or budget to visit a salon regularly. That’s where homemade nail art comes in. By using simple tools and everyday materials, you can achieve professional-looking designs without ever leaving your house.
Let’s break down what you can use for homemade nail art:
1. Nail polish: The foundation of any nail art design, nail polish comes in a wide variety of colors and finishes. Experiment with different shades and brands to find your favorites.
2. Nail art brushes: These fine-tipped brushes are essential for creating intricate designs like flowers, swirls, and geometric patterns. Invest in a set of high-quality brushes to ensure precision and durability.
3. Nail decals: If you’re not confident in your freehand skills, nail decals are a great alternative. These pre-designed stickers can be easily applied to your nails for a polished look in minutes.
4. Striping tape: For clean lines and sharp edges, striping tape is your best friend. Use it to create geometric shapes, stripes, and other detailed designs with ease.
5. Dotting tools: These double-ended tools are perfect for creating dots of various sizes on your nails. Get creative with polka dots, gradients, and ombre effects.
Now that you know what materials to use, here are some practical tips for homemade nail art:
– Start with a clean base: Make sure your nails are clean, dry, and free of any oils or residue before starting your nail art design.
– Practice makes perfect: Don’t be discouraged if your first few attempts aren’t perfect. Like any skill, nail art takes practice and patience to master.
– Experiment with different techniques: Mix and match colors, textures, and designs to create unique looks that reflect your personal style.
– Seal it with a top coat: To protect your nail art and ensure it lasts, finish with a clear top coat to seal in the design and add shine.
While homemade nail art offers endless possibilities for creativity, there are some pros and cons to consider. On the positive side, DIY nail art is cost-effective, convenient, and allows you to express your individuality. However, it can be time-consuming, and the results may not always meet your expectations.
If you’re looking for specific recommendations, consider trying brands like OPI, Essie, and Sally Hansen for high-quality nail polish. For inspiration, check out nail art tutorials on YouTube or Pinterest, or visit a local salon to see professional designs up close.
In conclusion, homemade nail art is a fun and affordable way to experiment with different styles and techniques. Whether you’re a beginner or a seasoned pro, there’s a world of creativity waiting at your fingertips. So grab your tools, unleash your imagination, and get ready to show off your one-of-a-kind nail art designs!


